Setup HMAC Authentication in Postman
This guide walks you through configuring HMAC authentication for the Mekari POS API using Postman's pre-request script feature.
Overview
Postman allows you to execute JavaScript code before sending a request. You can use this feature to automatically generate the HMAC signature and required headers for each API call, eliminating the need to manually calculate signatures.
Create a New Request
- Open Postman and create a new HTTP request
- Set up the basic request parameters:
- Method — Select the HTTP method (
GET,POST,PUT,PATCH, orDELETE) based on the endpoint you're calling - URL — Enter the full API endpoint URL, for example:
https://api.mekari.com/v2/mekari-pos/v2/categories
- Method — Select the HTTP method (
Add Request Headers
Navigate to the Headers tab. You can add any additional headers required by the specific API endpoint you're calling.
The Authorization and Date headers are automatically added by the pre-request script. Do not add them manually.
Refer to the specific API endpoint documentation in the API reference for any required headers. For POST /categories, add X-User-ID (an id from GET /users) and Idempotency-Key (a new unique value for each request).
Add Request Body (Optional)
If you're making a POST, PUT, or PATCH request, navigate to the Body tab and add your request payload:
- Select raw
- Choose JSON from the dropdown
- Enter your request body in JSON format
Example body for creating a product category:
{
  "name": "Beverages"
}
Add Pre-request Script
Navigate to the Scripts tab and paste the following JavaScript code:
const Header = require("postman-collection").Header;
const url = require("url");

const hmac_username = "<YOUR_MEKARI_API_CLIENT_ID>";
const hmac_secret = "<YOUR_MEKARI_CLIENT_SECRET>";

const requestUrl = url.parse(request["url"]);
const requestLine = pm.request.method + " " + requestUrl.pathname + " HTTP/1.1";
const dateString = new Date().toUTCString();
const digest = CryptoJS.HmacSHA256(
  ["date: " + dateString, requestLine].join("\n"),
  hmac_secret,
);

const signature = CryptoJS.enc.Base64.stringify(digest);
const hmac_header =
  'hmac username="' +
  hmac_username +
  '", algorithm="hmac-sha256", headers="date request-line", signature="' +
  signature +
  '"';

console.log("hmac_header: " + hmac_header);
console.log("date_header: " + dateString);

pm.request.headers.add(new Header("Authorization: " + hmac_header));
pm.request.headers.add(new Header("Date: " + dateString));
Replace the placeholder values:
<YOUR_MEKARI_API_CLIENT_ID>— Your application's Client ID from Mekari Developer<YOUR_MEKARI_CLIENT_SECRET>— Your application's Client Secret
Never share or commit your Client Secret. Store it securely and use Postman environment variables for sensitive values.
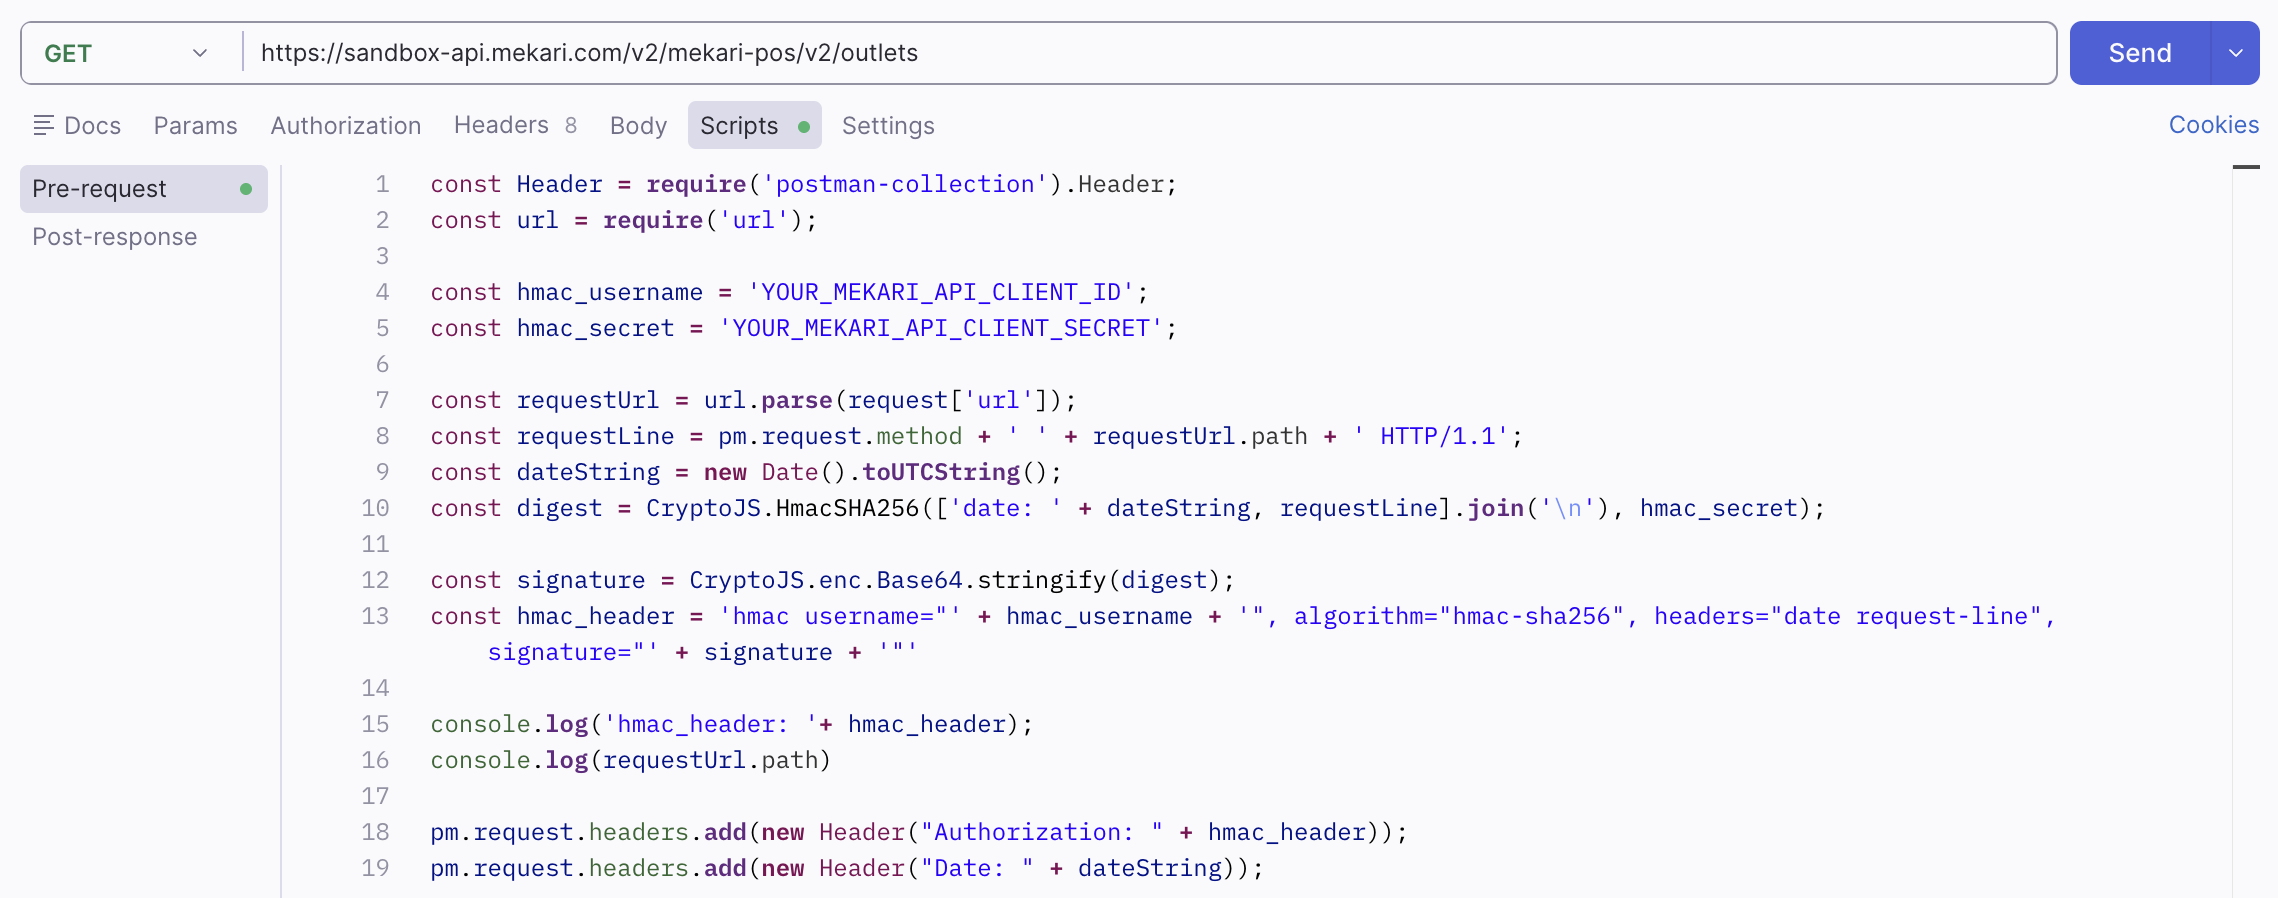
Send the Request
Click the Send button to execute the request. The pre-request script automatically:
- Generates the current UTC datetime
- Constructs the request line from the method and the path without the query string (
pathname). The signature is valid for any query on that path - Computes the HMAC-SHA256 signature
- Adds the
AuthorizationandDateheaders to the request
Verify in Console (Optional)
Open the Postman Console to view the generated HMAC header and date string logged by the script:
hmac_header: hmac username="dummy", algorithm="hmac-sha256", headers="date request-line", signature="<SIGNATURE>"
date_header: Sun, 16 Feb 2025 08:15:30 GMT
This helps with debugging if you encounter authentication errors.

Next Steps
Now that you can authenticate with Postman, explore the available endpoints API reference.
For automated integration, see the code examples: